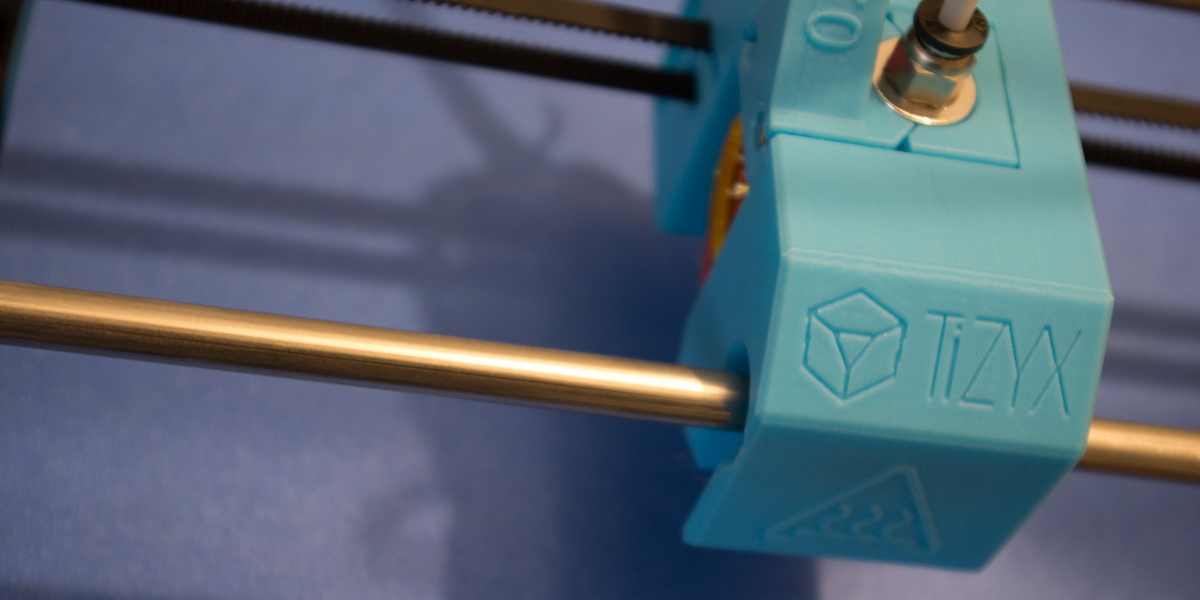
 La Evy est un très bel outil : double extrudeuse 3D, traceur, cutter, laser, CNC et même seringue alimentaire !
Plutôt qu'un discours, nous allons présenter la liste des caractéristiques notables de la TiZYX Evy :
Les premières impressions 3D en 0.6mm m'ont surpris par leur qualité. Le passage d'une Anet A8 vers la Evy est une énorme amélioration. Précision d'impression, ajustement automatique à 9 points de la hauteur de la buse, robustesse des pièces résultantes...
Les premiers essais avec le cutter et le traceur sont très satisfaisants comme l'illustre les images ci-dessous.
Lors de mon achat à la Maker Fair, je n'avais opté que pour deux outils : une buse en 0.6mm et un cutter. Après quelques jours, j'avais bien envie de tester également l'option traceur... Ni une, ni deux, pied à coulisse en main, je me base sur le cutter pour réaliser mon propre outil !
A partir des mesures du cutter, je dessine avec Tinkercad un support pour tenir un feutre (je ne donne pas les fichiers, TiZYX propose un traceur pour 29€ et je ne suis pas là pour réduire leurs ventes). Je l'imprime avec ma TiZYX évidemment et j'ajoute deux vis de 3mm x 12mm dans les trous prévus à cet effet. L'outil est prêt, j'y ai même inscrit TiZYX sur le dessus ! Le diamètre maximal pour les feutres est de 16mm. Pour pouvoir utiliser des feutres plus petits tout en gardant une bonne stabilité, j'imprime une pièce supplémentaire qui me permettra d'utiliser un diamètre de 9mm (relativement standard j'ai l'impression). Pour bien faire, j'y ajoute un méplat pour les vis et un blocage de 7mm de diamètre d'un côté du tube pour bloquer le feutre en hauteur (voir les images).
Une fois mes pièces imprimées, j'insère donc un feutre que je cale avec les vis et je démarre la TiZYX avec le même fichier que celui utilisé pour le cutter... et voilà ! Un résultat super propre en un rien de temps.
Voici quelques exemples de résultats obtenus à partir du module Traceur pour Inkscape.
Cette petite expérience montre que la TiZYX, avec un peu de suite dans les idées, peut être utilisée avec d'autres outils encore à inventer ! Des idées ?
Lien : Le meeple sur thingiverse
Lien : Tinkercad, outil en ligne
Lien : TiZYX
Commentaires
Pas de commentaires actuellement
Nouveau commentaire